UiPath Is a technology running on Windows that helps you to automate repetitive tasks, those tasks can be executed by robots and the main component in UIPath to coordinate those robots is UiPath Orchestrator. In this technical post we will go over the process of installing and configuring UiPath Orchestrator in a Windows Server 2019. First, we need to be sure we meet the hardware requirements and software requirements. Let’s start by enabling and configuring IIS in our Windows Server enabling this features:
- IIS WebServer Sockets
- IIS Application Init
- IIS ISAPI Extensions
- IIS ISAPI Filter
- IIS ASPNET 4.7
- IIS Windows Authentication
- IIS URL Authorization
If you want to know how to enable IIS features, please go here; also, we need to install some third-party applications:
- IIS URL rewrite, you can find it here
- ASP .NET Core 5.0 Runtime, you can find it here. Make sure you install the Hosting Bundle installer.
HTTPS protocol is mandatory for all communication between robots and Orchestrator. Therefore we need to create a self-certificate, which is not recommended for Production. Type this command in a PowerShell console:
$pass = ConvertTo-SecureString -String "Secret" -Force -AsPlainText
$imported = Import-PfxCertificate -FilePath "%USERPROFILE%\UIPathCertificate.pfx" -CertStoreLocation Cert:\LocalMachine\My\ -Exportable -Password $pass
$store = New-Object System.Security.Cryptography.X509Certificates.X509Store( "Root", "LocalMachine")
$store.Open("MaxAllowed")
$store.Add($imported)
Single-Node Installation
Run the Windows Installer (UiPathOrchestrator.msi). The UiPath Orchestrator Setup wizard is displayed.
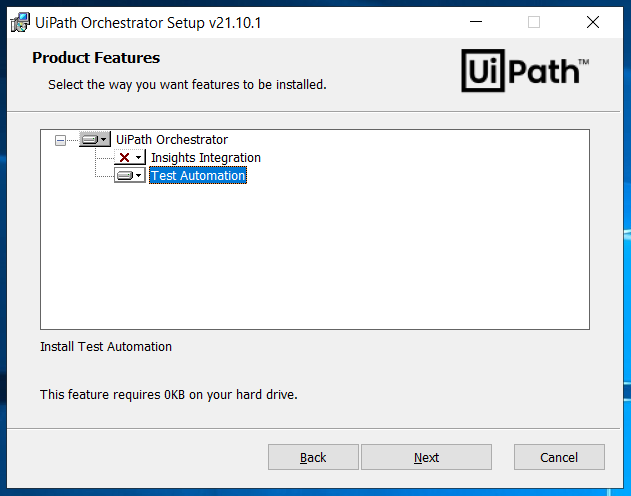
Click Next, and the Orchestrator IIS Settings step is displayed.
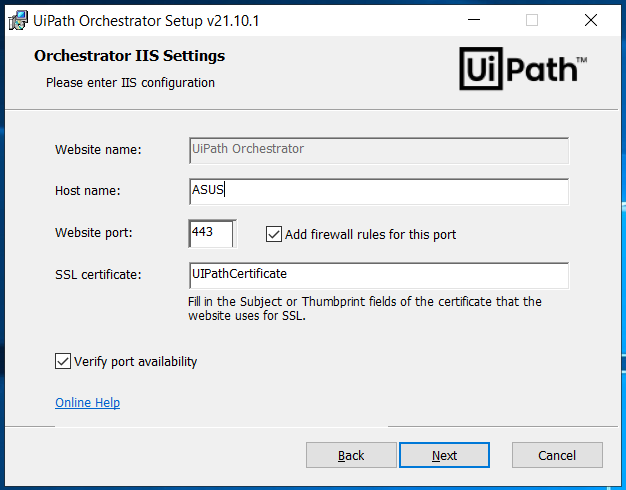
Make sure your certificate is imported in both Personal and Trusted Root Certification Authorities; you can manage that configuration by opening the Manage Computer Certificates located in Control Panel. When the Application Pool Settings step is displayed select custom account and provide your server user’s credentials. Next step is Database Settings.
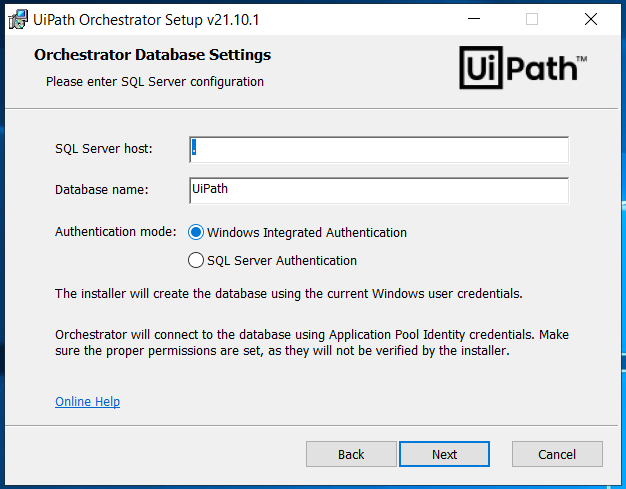
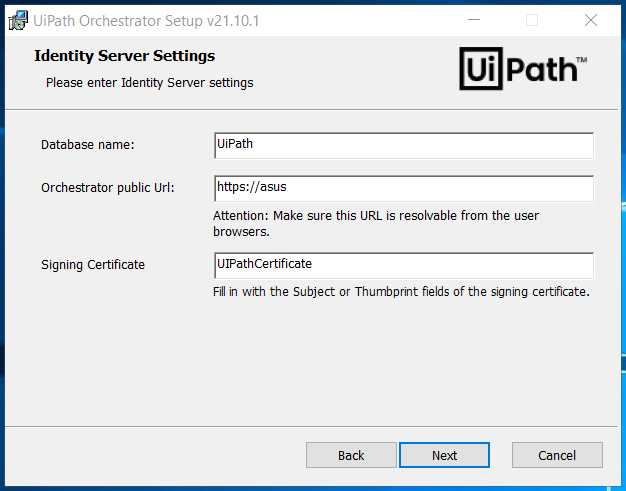
In this setup, we will have UiPath databases on the same server, but it is recommended to setup the databases on a different server. Also, you should choose Windows Integrated Authentication instead of SQL Server Authentication. Click next to validate SQL connections by the installer. If the SQL connection is valid, the Identity Server Settings will appear.
Click next until the Orchestrator Authentication Settings step is displayed.
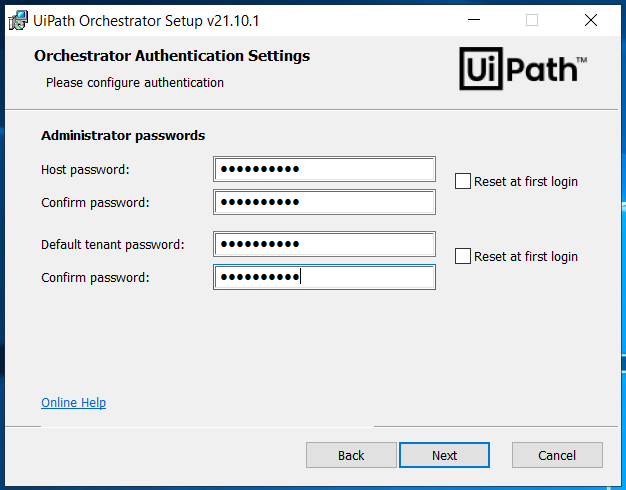
Set admin passwords for both host and tenant. Tenant account allows you to model your organization structure. Click next to see Test Automation database settings.
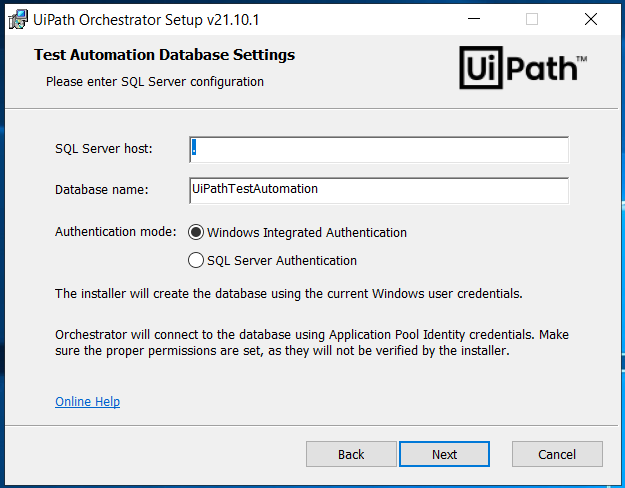
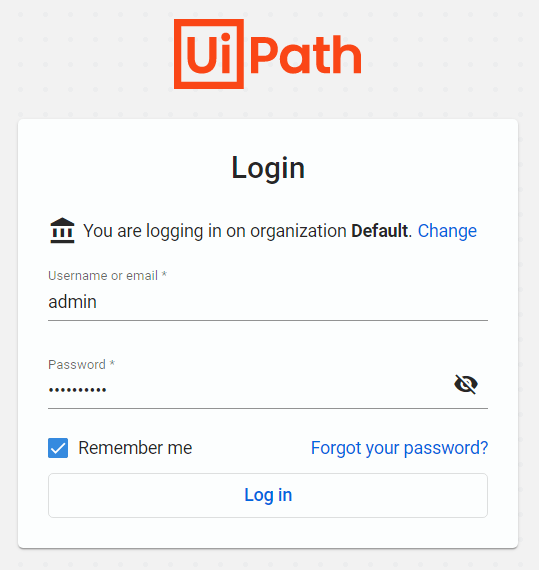
Finally, click next to start the installation; once it is done, you should enter to the orchestrator home website with your admin credentials.